

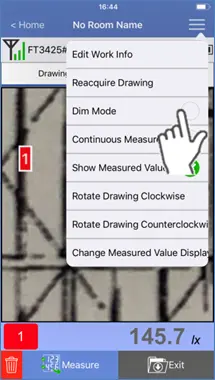
Useful Functions
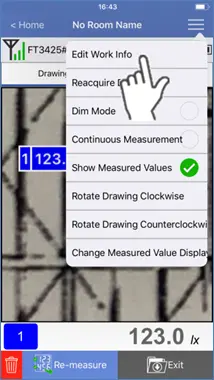
Editing Work Information
1
Tap “Edit Work Info” from the Menu list.
2
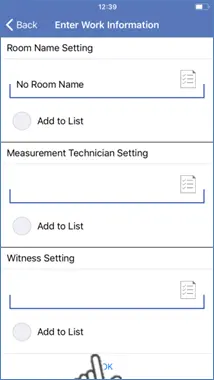
Edit as required and tap OK to confirm.
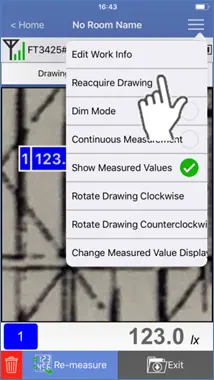
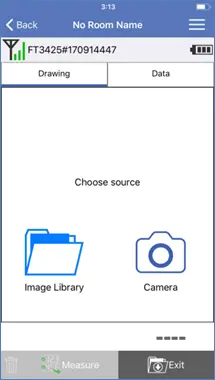
Changing the Image
1
Tap “Reacquire Drawing” from the Menu list.
2
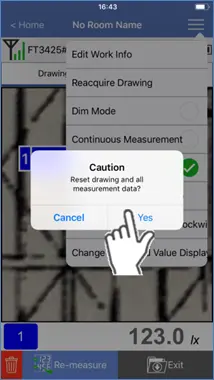
Tap “Yes” to confirm.
3
The previously used image will be deleted.
Select a new source from the Image Library or use the Camera.
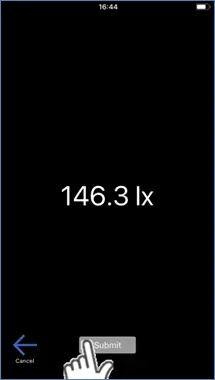
Dim Mode
1
Activate the checkmark next to Dim Mode on the Menu list.
The background will dim to provide a clearer picture of the measured value.
2
Tap “Submit” to save data.
Performing continuous measurement
1
Activate the checkmark next to Continuous Measurement on the Menu list.
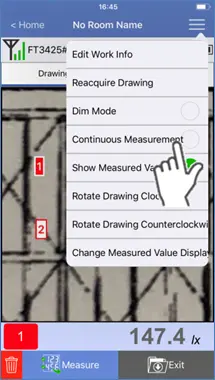
2
Tap “Measure” or the HOLD button on the measuring instrument.
The measured value will be saved, and the next number will be selected.
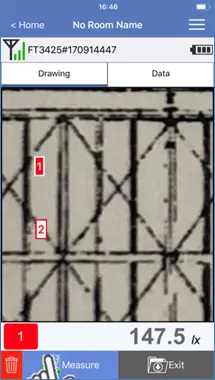
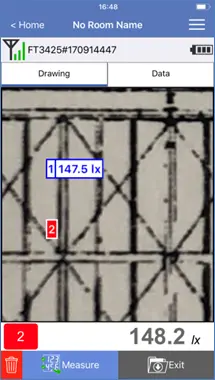
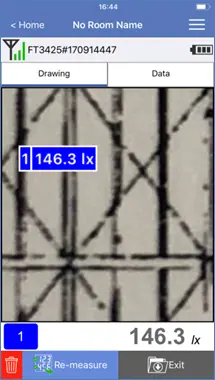
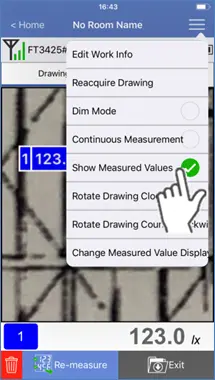
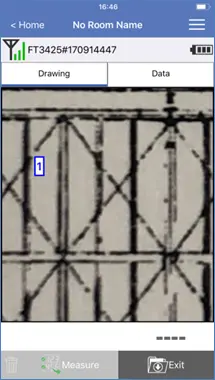
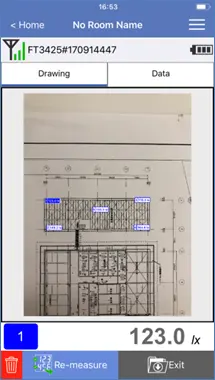
Changing the Icon Display Format
1
De-activate the checkmark next to Show Measured Values on the Menu list.
The data icons will now only show the data number without the measured value.
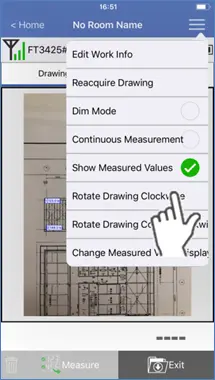
Rotate Drawing
1
Tap “Rotate Drawing Clockwise” or “Rotate Drawing Counterclockwise” on the Menu list.
Tapping “Rotate Drawing Clockwise” will rotate the drawing 90° to the right.
Tapping “Rotate Drawing Counterclockwise” will rotate the drawing 90° to the left.
Tapping “Rotate Drawing Counterclockwise” will rotate the drawing 90° to the left.
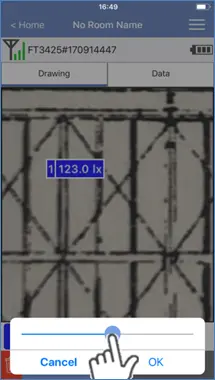
Adjusting the Icon Size
1
Tap “Change Measured Value Display Size” on the Menu list.
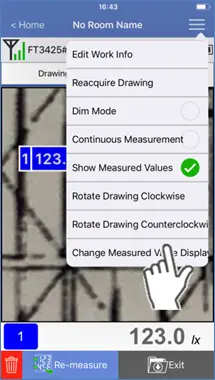
2
When the adjustment slider is displayed, use it to change the size and then tap “OK”.
Depending on the image size, changing the adjustment slider may not change the size of measured values.
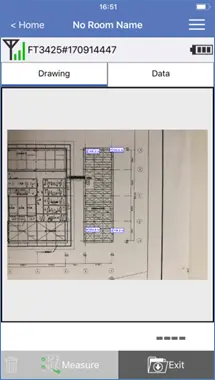
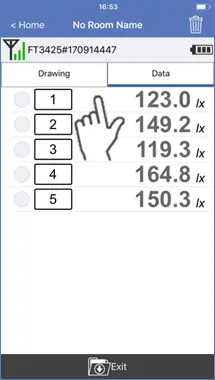
Selecting data from the Data tab.
1
Activate the checkmark next to the desired data.
Switch to the Drawing tab. The selected data will be highlighted.
Want help or have questions?