

Creating a new account
Accessing the GENNECT Cloud website (https://cloud.gennect.net/app/)
If you don’t have a GENNECT Cloud account, click [Create new account] to create one.
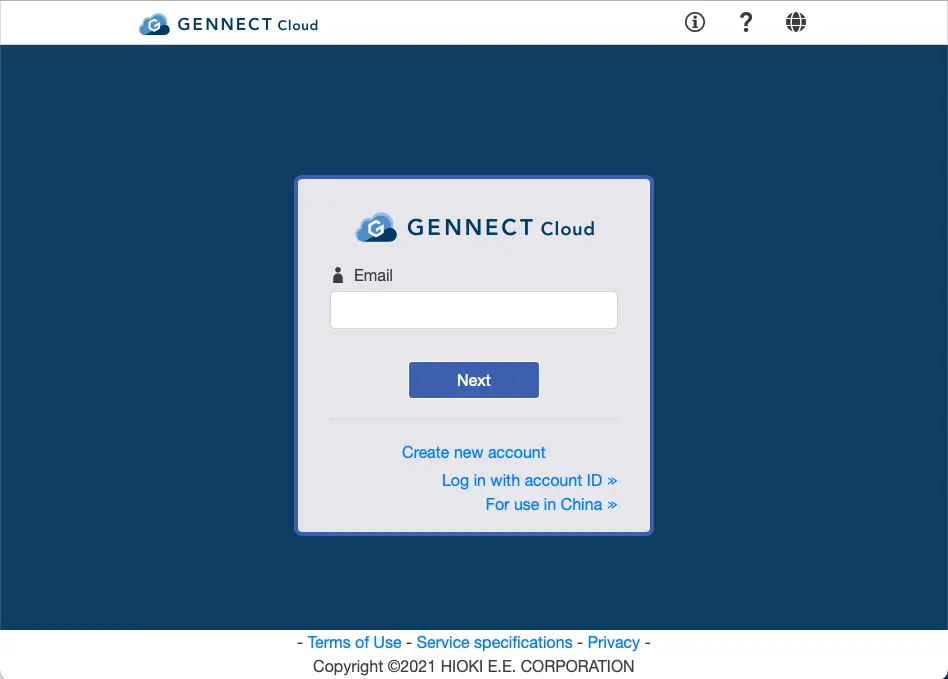
For use in China, please use the link [For use in China]. For use in China, please refer to "Using GENNECT Cloud in China".
Authenticating your email address
You will need to authenticate your email address to verify that messages can be properly delivered to the address you entered.
- Enter the email address of the user who will become the accountholder and click [Obtain authentication code].
- A 6-digit authentication code will be sent to the email address you entered.
- Enter the authentication code in the input field and then click [Complete authentication].
Entering your account information
Enter the following information and click [Check registered content]. The personal information you enter will be managed in accordance with the Privacy Policy. Fields shown in bold are required.
- Accountholder information
Email address; Company; Name; Department; Title: Phone number; Postal code; Prefecture; City, district, ward, town, or village; Address; Language; Time zone - Login information
Accountholder's user ID, Password
Set the user ID to a string consisting of no more than 50 half-byte alphanumeric characters and symbols (hyphens and underscore characters). Enter a password that is at least 8 characters in length. Passwords may include single-byte numerals, English uppercase letters, and English lowercase letters. Do not use the same password for other services, and set one that is difficult to guess.
Checking registered content
Check the information you registered for errors. After reviewing the Terms of Use, Service Specifications, and Privacy Policy and ensuring that you accept their provisions, click [Create account].
After the account is created, you can set up two-factor authentication from “Edit user information.” Two-factor authentication is disabled by default. We recommend setting it up, as it helps prevent unauthorized logins. For instructions, see “(Application) Enabling two-factor authentication for a user.”